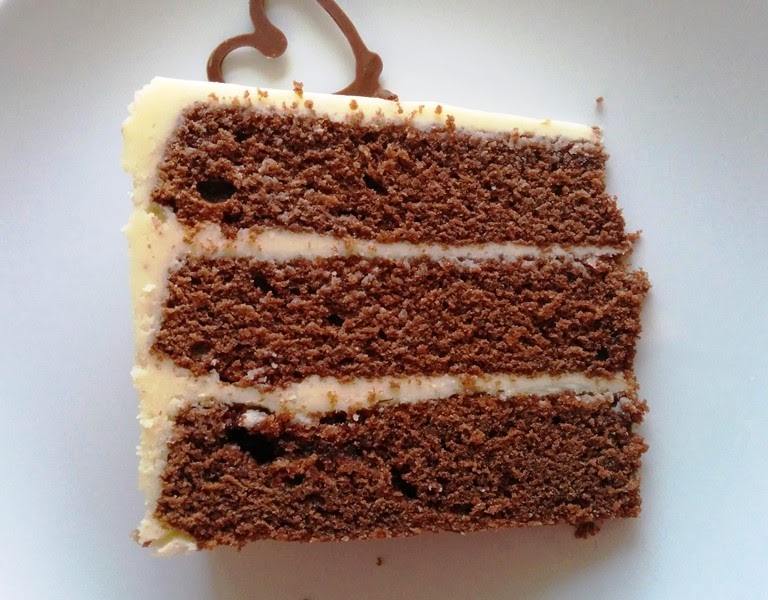
So, I think it's safe to say this doesn't come close to being classed as clean and lean. But look at it! It's a strong-crumbed chocolate cake, not too sweet, that allows the sweet and salty caramel icing to come through. You really don't want to make a sweet chocolate cake as it would be too much with the icing.
I made this to take along to a Clandestine Cake Club meet-up. It's the first one I've been to but it was great fun and I got the chance to meet some lovely people and eat some great cake. I had originally planned to take this along to a Cheap & Cheerful event (cakes under £5) but got my dates mixed up and missed it! Fortunately another nearby group was hosting a Valentines themed day and allowed me to come along. Hence why I have some very hastily made chocolate heart decorations going on!
Before you get going on this recipe bear in mind that you're going to need to make a caramel and therefore dedicate a fair whack of time to this cake, it's a labour of love but well worth it. Just try not to think of all the butter in it as you're serving yourself a slice...
Salted Caramel Icing
Ingredients:
Chocolate Cake
Ingredients:
I made this to take along to a Clandestine Cake Club meet-up. It's the first one I've been to but it was great fun and I got the chance to meet some lovely people and eat some great cake. I had originally planned to take this along to a Cheap & Cheerful event (cakes under £5) but got my dates mixed up and missed it! Fortunately another nearby group was hosting a Valentines themed day and allowed me to come along. Hence why I have some very hastily made chocolate heart decorations going on!
Before you get going on this recipe bear in mind that you're going to need to make a caramel and therefore dedicate a fair whack of time to this cake, it's a labour of love but well worth it. Just try not to think of all the butter in it as you're serving yourself a slice...
Salted Caramel Icing
Ingredients:
- 100g granulated sugar
- 2 tablespoons water
- 120ml double cream
- 1 teaspoon vanilla
- 230g unsalted butter, softened
- 230g salted butter, softened
- 1 teaspoon sea salt, crushed (I used Maldon salt)
- 600g icing sugar
- Put the sugar and water into a saucepan. Place over a medium heat and stir until the sugar has all dissolved. As soon as it's dissolved stop stirring!
- Bring to medium-high heat and watch it boil. Don't walk away, instead keep a keen eye and wait for it to turn a deep amber colour.
- As soon as it hits the right colour remove it from the heat and begin to pour in the double cream. Add it gradually, stirring all the time and then add the vanilla. Leave to cool for at least 20 minutes.
- Meanwhile, in a large bowl, I used my kitchenaid with a beater paddle, begin to beat the butter and icing sugar together until you have a light and fluffy buttercream.
- Once cool at the caramel slowly and add the salt. Beat for a further 2 minutes or so until all combined.
Chocolate Cake
Ingredients:
- 350g granulated sugar
- 170g unsalted butter, softened
- 1/2 teaspoon salt
- 240g plain flour
- 60g cocoa powder
- 2 tsp baking powder
- 4 large eggs, at room temperature
- 350ml milk, at room temperature
- 1 tsp vanilla extract
- Beat the sugar and butter together for about 5 minutes, until light and fluffy
- In a separate bowl sieve the flour, salt, cocoa powder and baking powder together
- Once light and fluffy add the eggs to the butter mix, one at a time, ensuring it is mixed thoroughly between each one
- Add half of the flour mix, then half of the milk, add the remaining flour and then the remaining milk. Beat slowly until well combined.
- Finally add the vanilla, split the mix between three 8" pans.
- Cook at 160c for around 30 minutes, until a skewer comes out clean when pushed into the middle of the cake.
- Once cooked, leave to cool before levelling the cakes off.


